Vintage Chest Makeover
- Robin Brown
- Oct 6, 2022
- 4 min read
In addition to being an antique dealer, a friend and I started an estate sale business when we retired from our corporate jobs a couple of years ago (you can follow us at R2 Estate Sales on FB). I see so many pieces of vintage furniture that are solid as a rock—much more solid than a new piece, they just need a little bit of love. That was the case with this treasure. We offered it at the estate sale. By the second day, no one had scooped it up. At that point, I knew it would be going home with me.

There are so many great things about this chest. It is large, about 4 ft long so it will hold lots of blankets and whatever treasure you would want to store. I loved the feet on it and as I said before, it is solid as a rock—it is really heavy!

The base of the trunk was covered in grasscloth and had wooden decorative trim. The grasscloth was missing in a few places and had been well-loved by the family that owned it.
My plan was to remove the grasscloth, paint it, and reupholster the lid.

I began by removing the trim. It was so brittle, it came off in bits and pieces.

As I removed the grasscloth—which came off very easily, I discovered the glue used to adhere it to the chest was pretty thick. I did some research and apparently wallpaper paste was often used to attach grasscloth. The recommended method of removal was warm water or wallpaper remover. I tried both—and both worked!

The wallpaper remover worked a little faster so we went with that method of removal. It was very simple, all you need to do is spray a coating of the wallpaper remover, let it sit for 15 minutes and scrape it off.
Before we tackled the glue removal, we detached the lid of the chest and set it aside to reupholster.

After the glue was removed, we were left with this. It was smooth to the touch but still looked a little ugly. I wasn't sure if the wood was permanently stained of if sanding would remove the rest.

The sanding worked! We did several passes with a variety of grit of sandpaper. The wood was super smooth and was really pretty. At that point we decided to polycoat the wood and paint the trim.

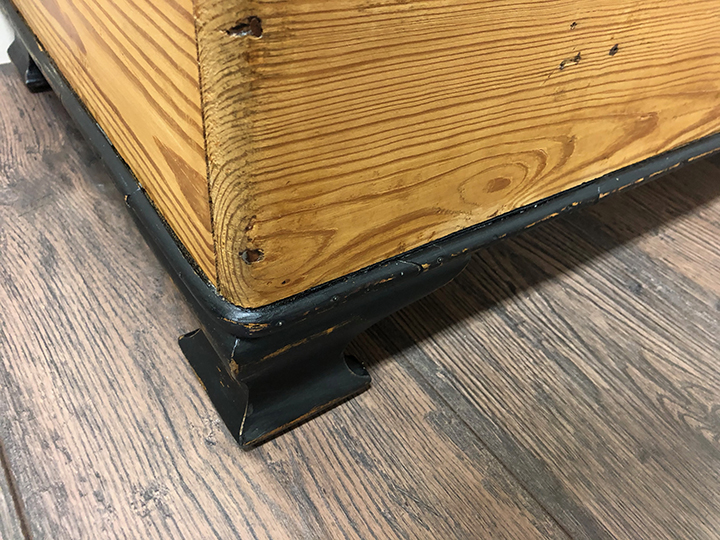
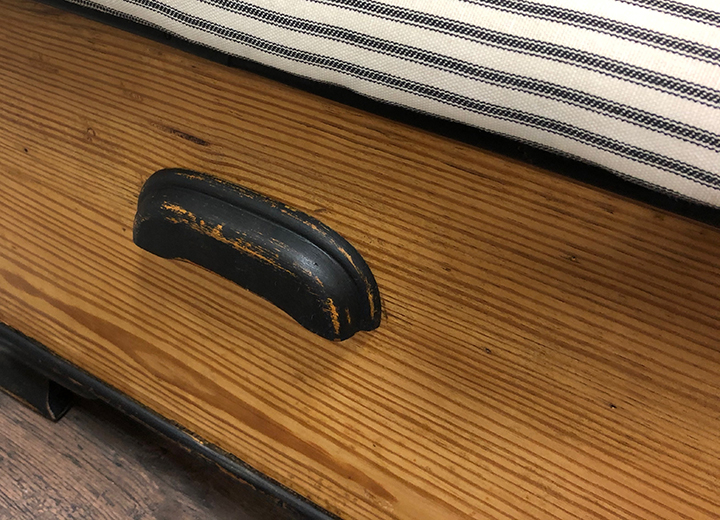
We taped off the trim and used Rustoleum Charcoal Chalk Paint on the trim and legs.


We distressed the black paint and gave it a coat of Varathane Crystal Clear Satin polyurethane.

The poly really brought out the richness and warmth of the wood.
Now that the bottom was finished, I turned my attention to reupholstering the lid. I removed all the old vinyl and padding.

There was only one layer of vinyl—actually Naugahyde on the lid.

This was on the underside of the vinyl—the actual Naugahyde logo. I had never seen that before!
I selected a black and cream ticking canvas for the fabric on the lid.

I added a layer of foam, a layer of cotton batting and then the fabric. I stapled it into place.

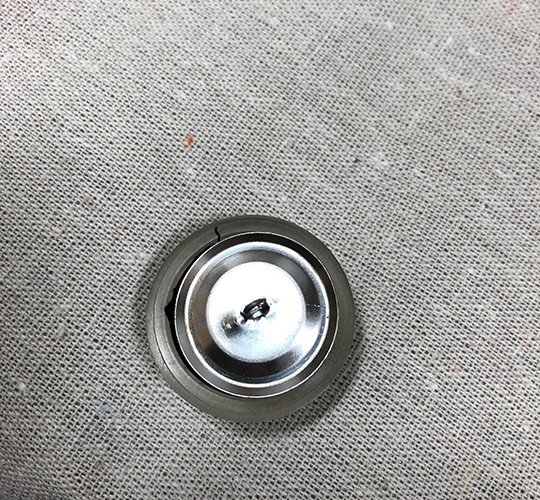
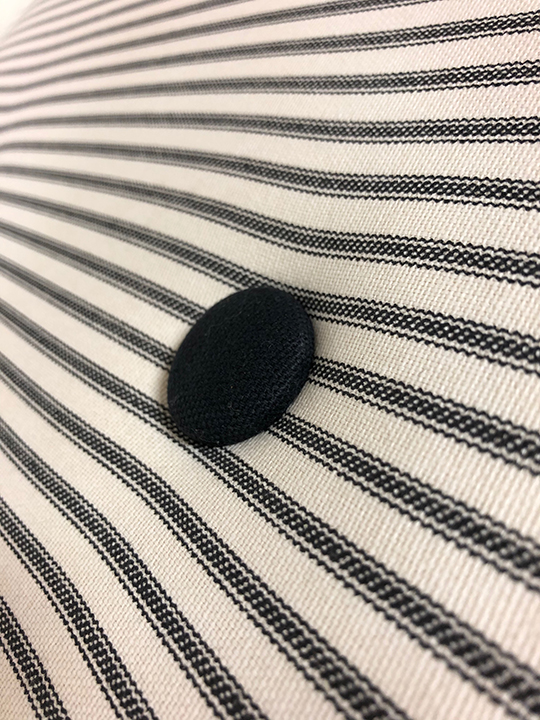
I wanted to add tufted buttons to the lid and wanted to have a contrasting fabric. You can buy button covers from any big box store or craft store.

A few months ago on Facebook Marketplace, someone was offering five boxes (new, old stock) of vintage button covers for sale. I think I only paid $15 for all five boxes (each box has 24 pkgs of covers). If you have ever bought button covers, you know they are $3 to $5 for a package of 2 to 4 covers depending on the size. I was thrilled to get these!

I had some black canvas leftover from another project. The plastic circle is a temple I have had for a while and it fit the vintage button covers perfectly.

I cut the black fabric into circles using the template.
This slideshow illustrates putting the fabric and the top of the button in the button mold, gathering the fabric and pushing it inside the button and placing the back of the button on the mold. Then use the blue pusher to press the back into the button securing the fabric inside the button.

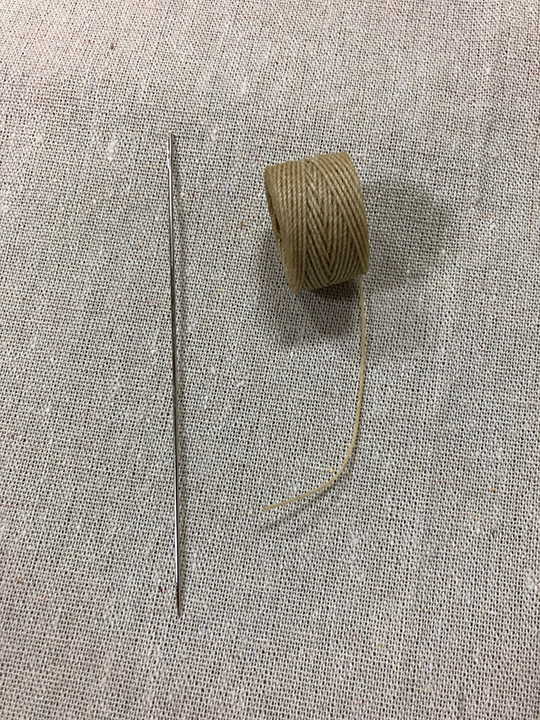
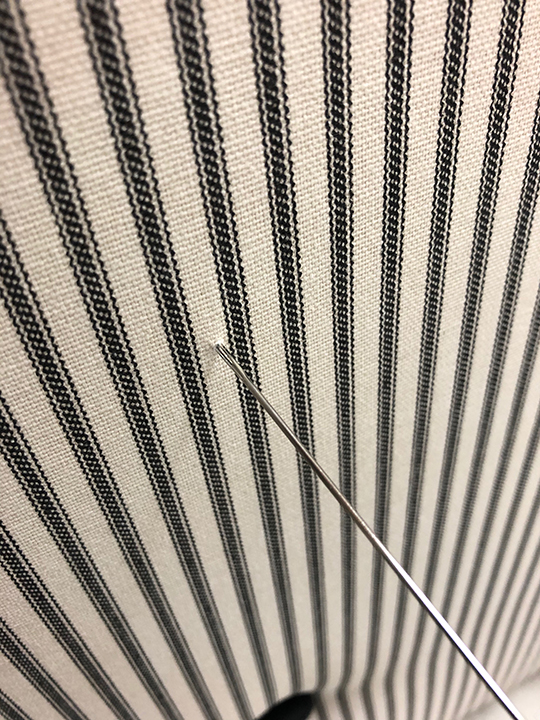
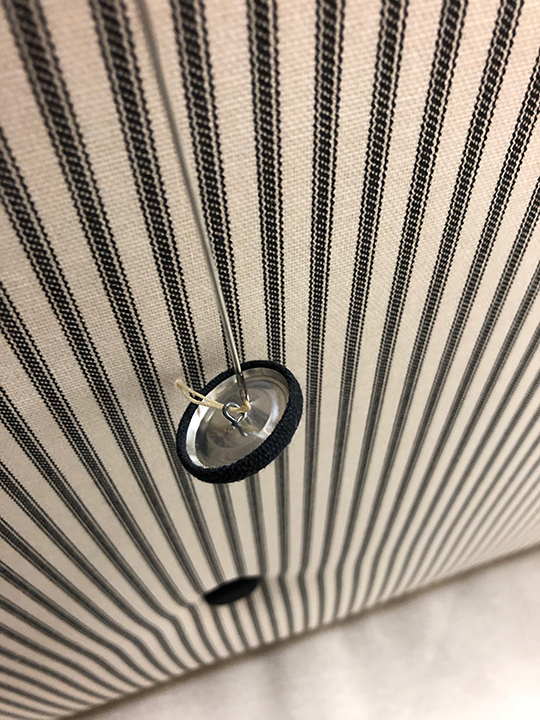
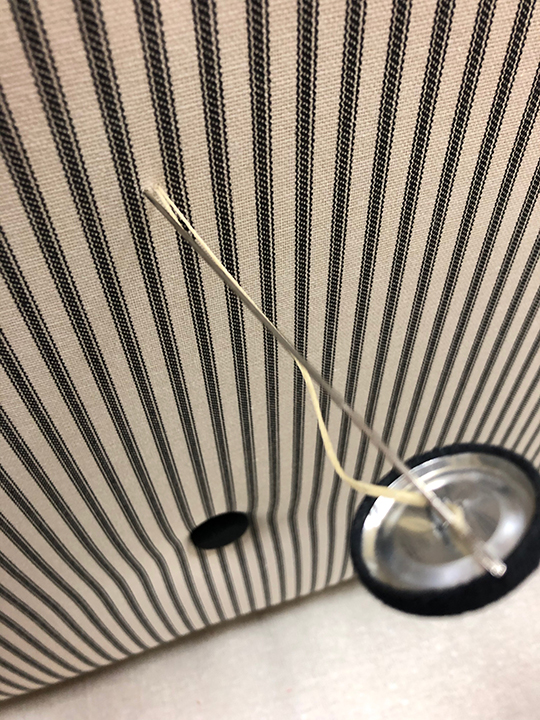
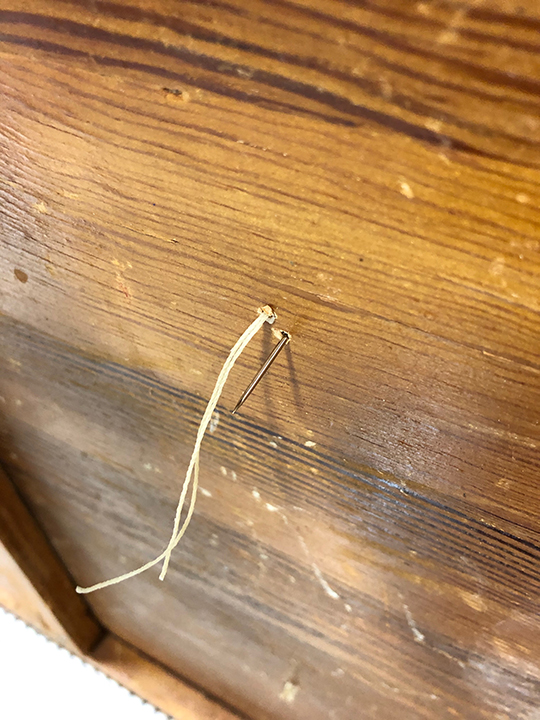
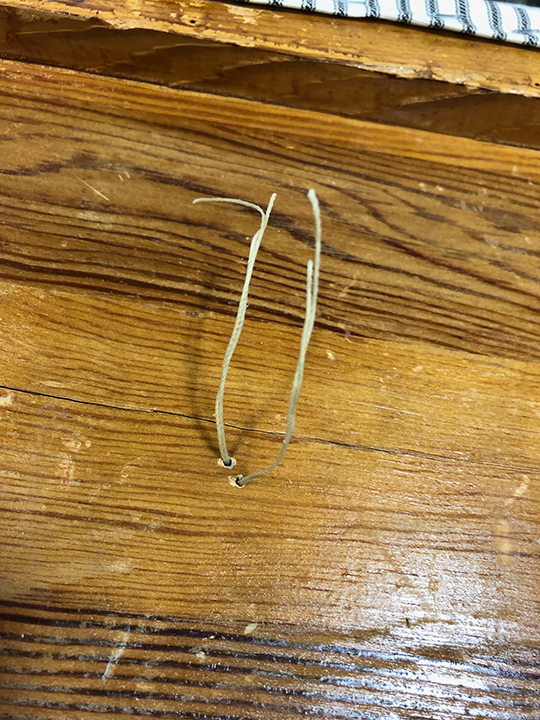
Tufting requires some preplanning. Mark each spot to be tufted on the wooden lid prior to upholstering. Drill two small pinholes in the wood at each tufting spot. You will need waxed upholstery thread and an upholstery needle. Thread a piece of waxed thread onto the needle. Feed the needle through the wood on the bottom and pierce the fabric. Thread the button and pierce the fabric again finding the second hole in the bottom of the wood. Pull tightly and tie off the thread with multiple knots. Trim the remaining thread. The slideshow below illustrates the steps.
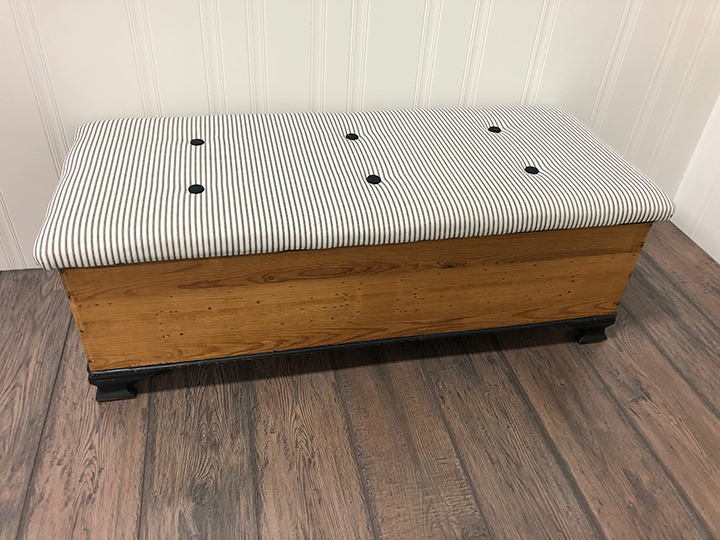
I added six buttons to the lid of the chest.

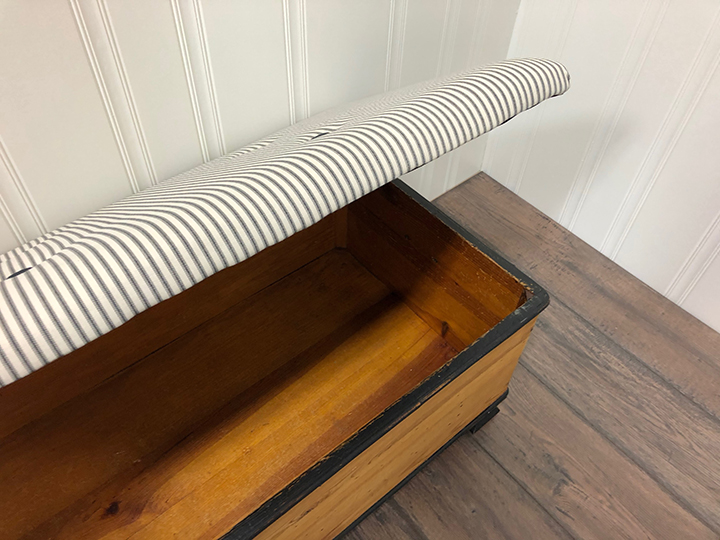
I added black dust fabric to the underside of the lid and reattached it the base.

The chest that just needed a little love now has a great rustic farmhouse vibe and would look great in any home.
This piece would be great in an foyer or mudroom. It would also be great to store blankets in a living room or a bedroom.

If you like my blog, please follow me on Facebook, Instagram, and Pinterest! Just click on any of the social media buttons in the sidebar above! Thanks for following me on the junking journey!
Below is an image to pin to Pinterest if you would like to save this idea!

















Comments